Let’s learn how to deploy the app we just built as an Azure Web App using Continuous Integration. The end goal is to be able to check in a change which will automatically trigger a build and publish the latest code to an Azure Web App.
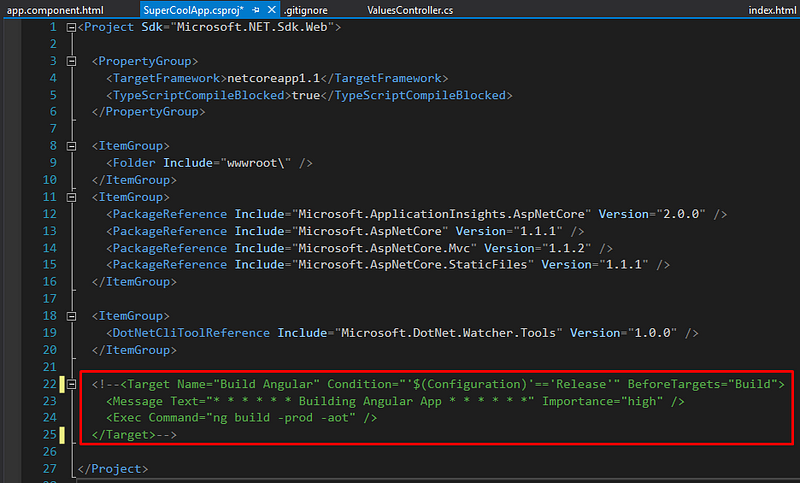
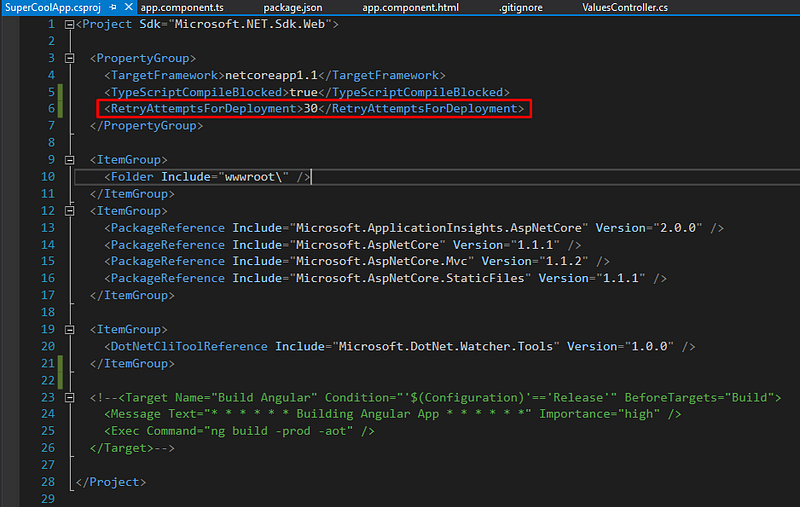
Remove the Angular build command from your *.csproj The angular app will eventually be compiled by a VSTS build agent in the cloud and it’ll handle compiling the Angular code
2. Set deployment retry attempts to 30 in your *.csproj
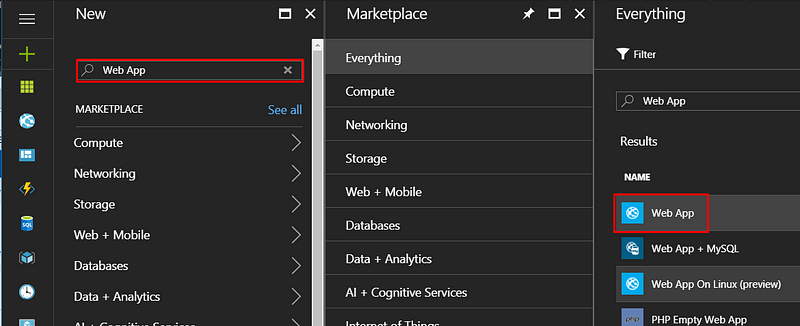
Set your name, create a resource group and create an appropriate App Service plan — The F1 (Free) pricing tier will work just fine, but don’t expect blazing fast load times — then create your web app.
Create a Visual Studio Team Services Project
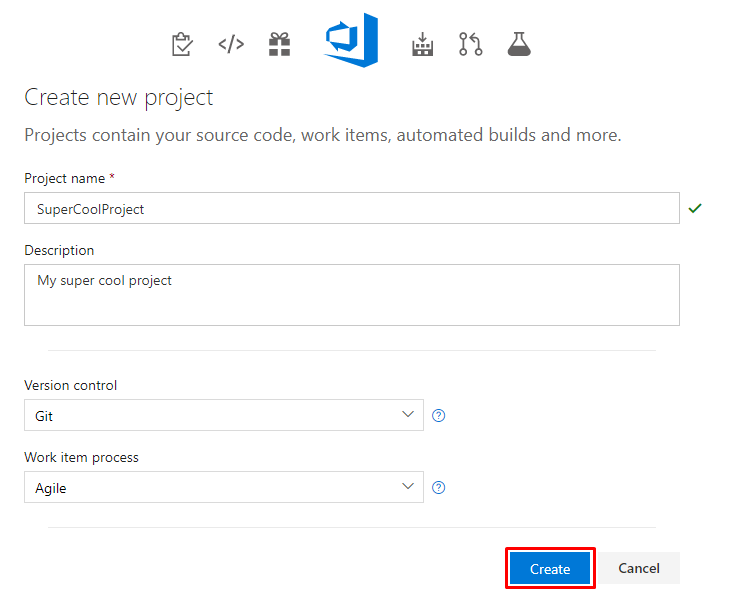
Navigate to the VSTS portal you setup when creating your VSTS account and create a new Project
Note: Version control and Work item process are only applicable if using VSTS to store your code and track your work items, but we’ll be using GitHub as our source repository instead so it doesn’t matter
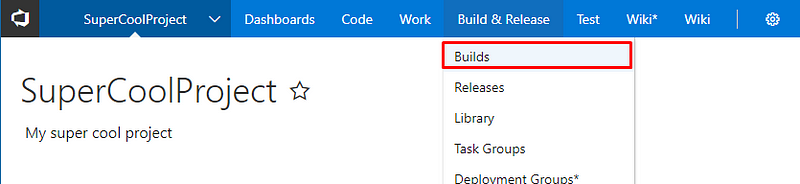
Create a Build Definition to Deploy Your App
Navigate to your Builds section
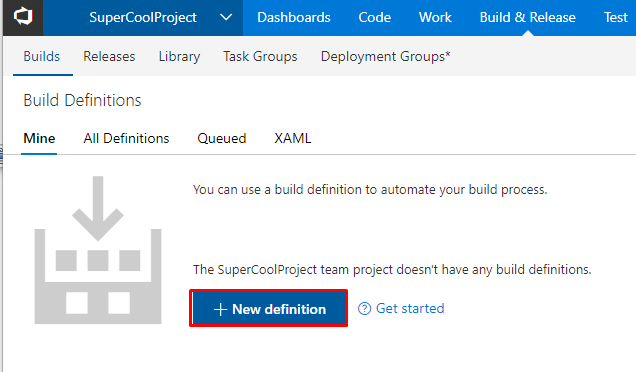
Create a new build definition
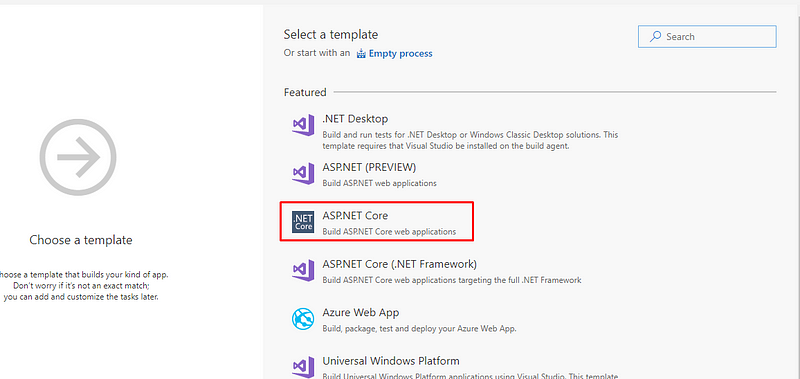
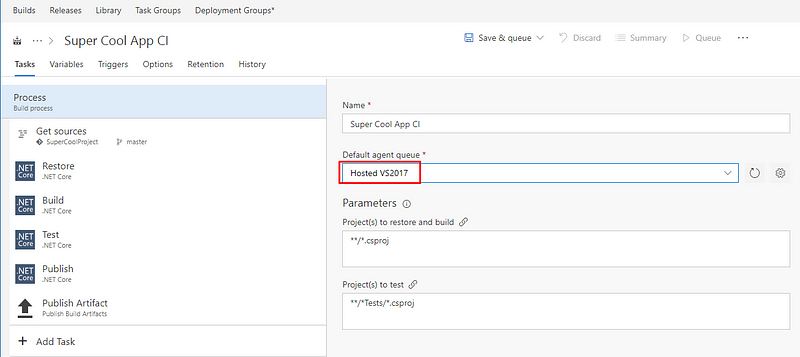
Select the ASP.NET Core template
Set the Default agent queue to Hosted VS2017
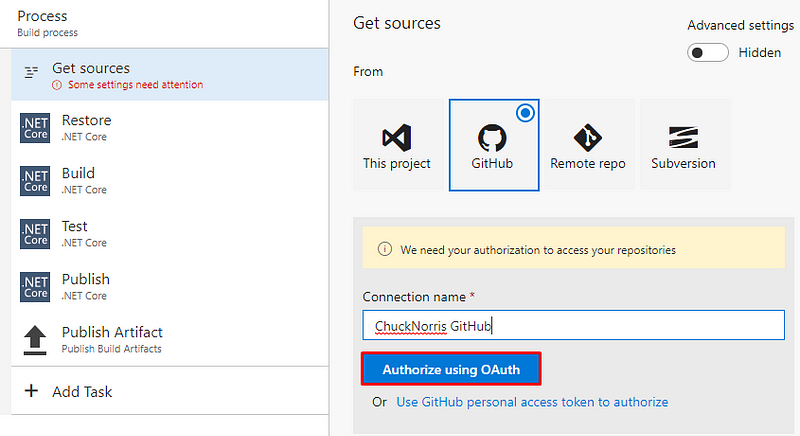
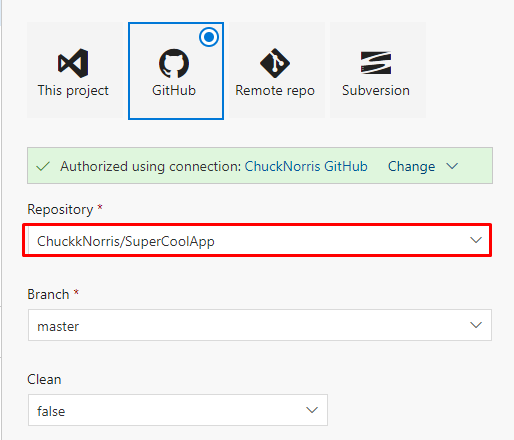
Set the package source to your GitHub repository
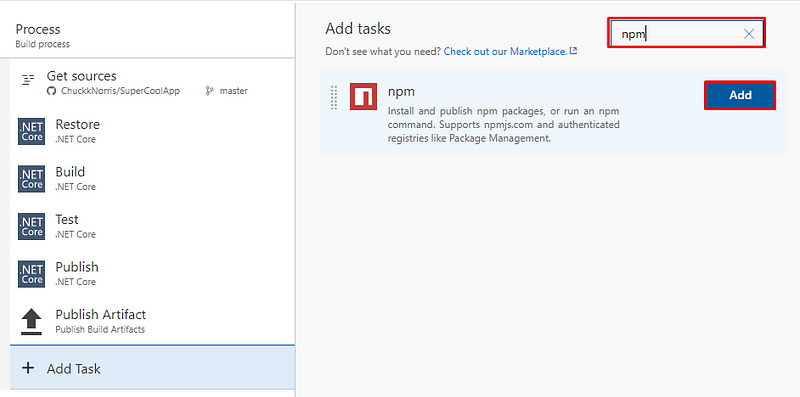
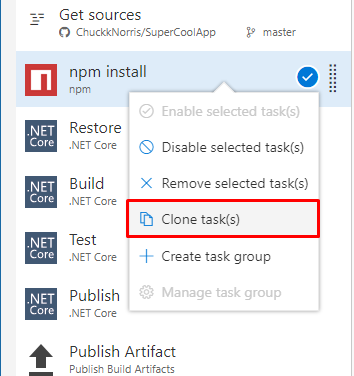
Add an npm task, move it to before the Restore task, and clone it
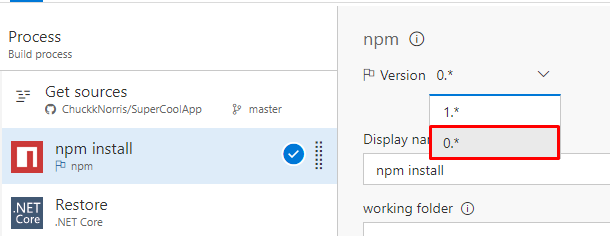
Set the npm task version to 0.*
Set the npm task version to 0.*
Set the working folder to where your project’s package.json is located
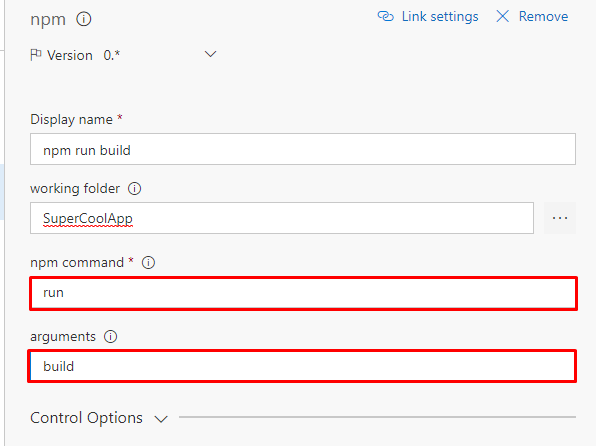
Create the ng build task
Clone the task and update the command as follows
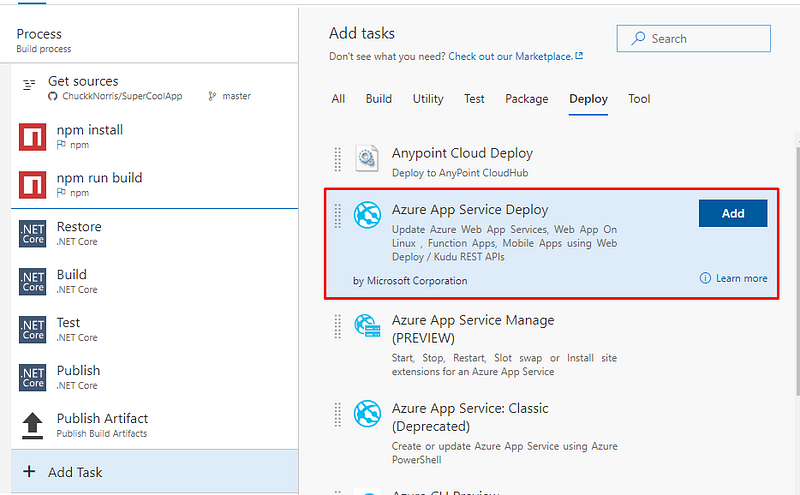
Create the Azure App Service Deploy Task
This task will take your compiled .NET Core application and publish it to your Azure Web App service.
Connect it to your Azure subscription by following the instructions for the Azure subscription field and select your app
Set your package location to the output of the .NET Core: Publish task:
$(build.artifactstagingdirectory)/**/*.zip
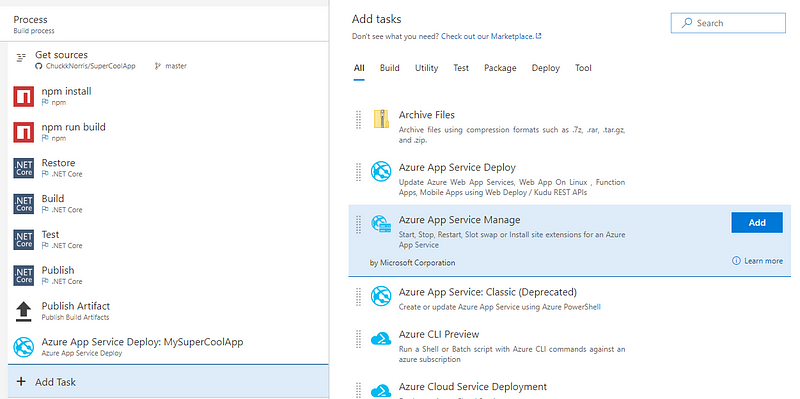
Stop the App Service Before the Build Process
In order to get around a bug where the app service isn’t completely stopped when it reaches the deploy task, we’re going to stop the Web App before the build process starts to ensure it’s completely shutdown.
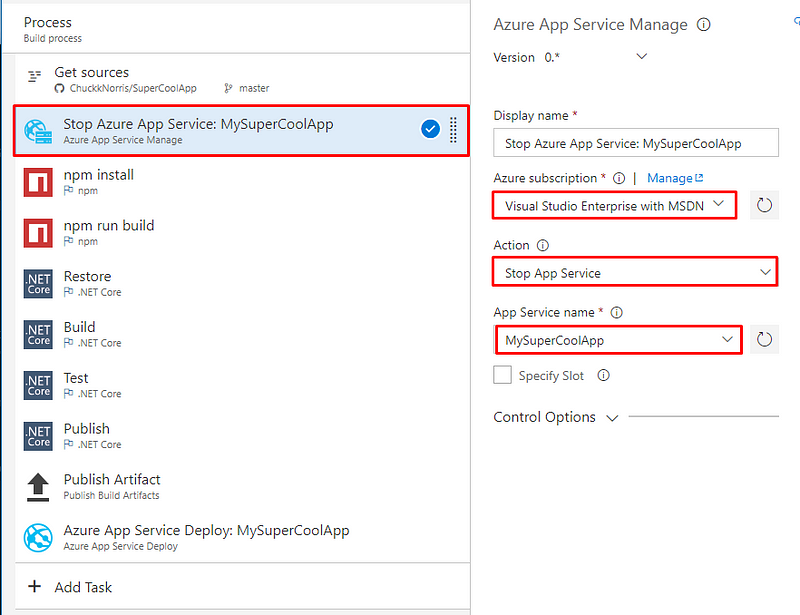
Add the Azure App Service Manage task to the build process
Move the App Service Mange task to before the npm install task and change the Action to Stop App Service
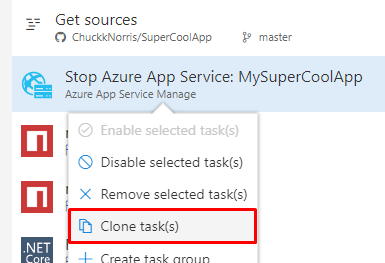
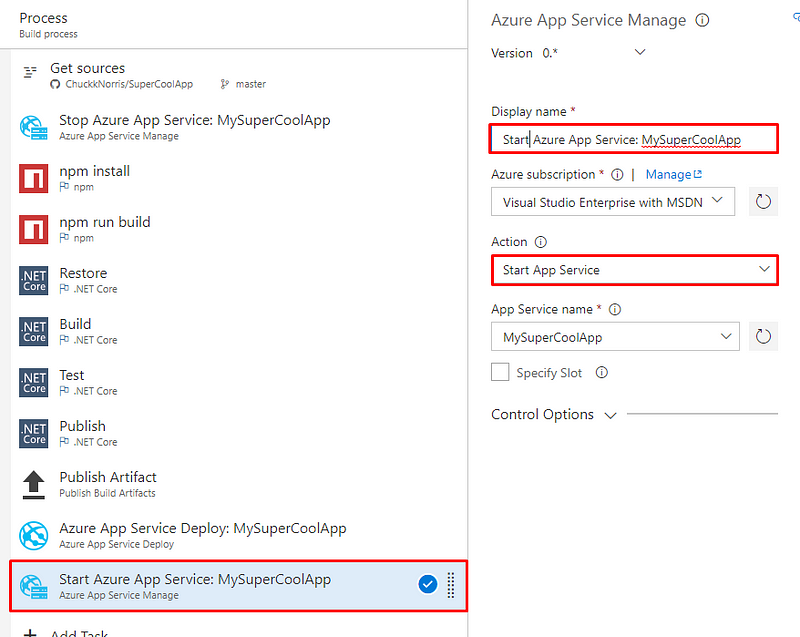
Start the App Service after deployment
Clone the Stop App Service task
Move it to after the Deploy task and change its name and action to Start App Service
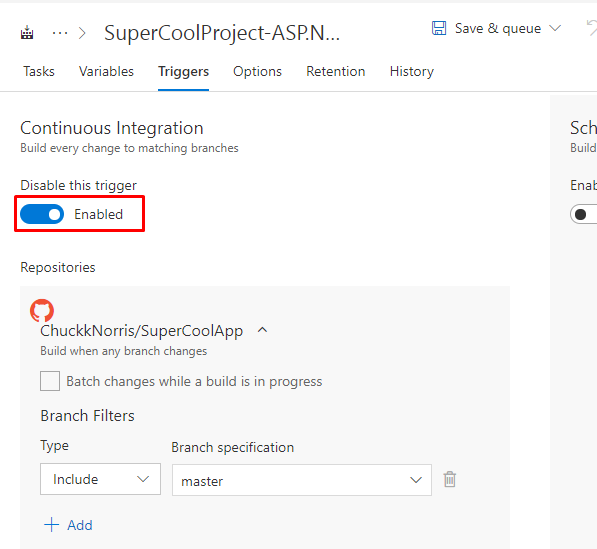
Enable Continuous Integration
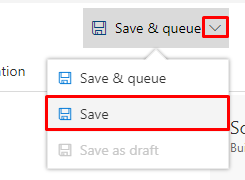
Save the build definition
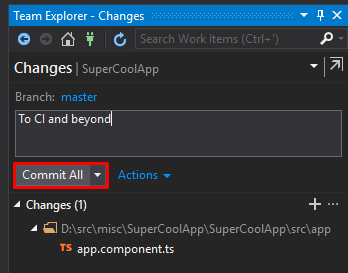
Change some code, commit it, and push it to your repository
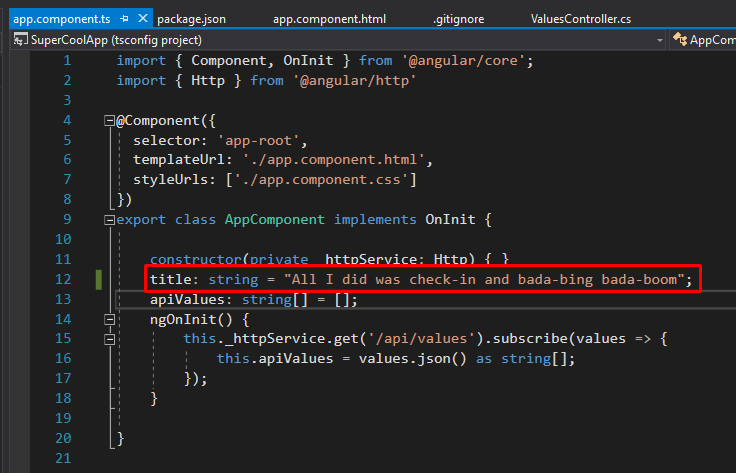
Try adding a variable to your component
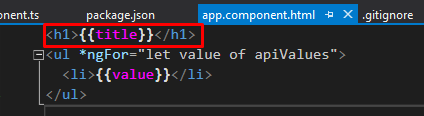
Show it in the title
git commit -m "To CI and beyond"
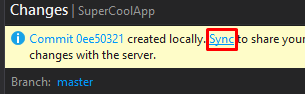
git push
The Sync operation performs a git pull and git push
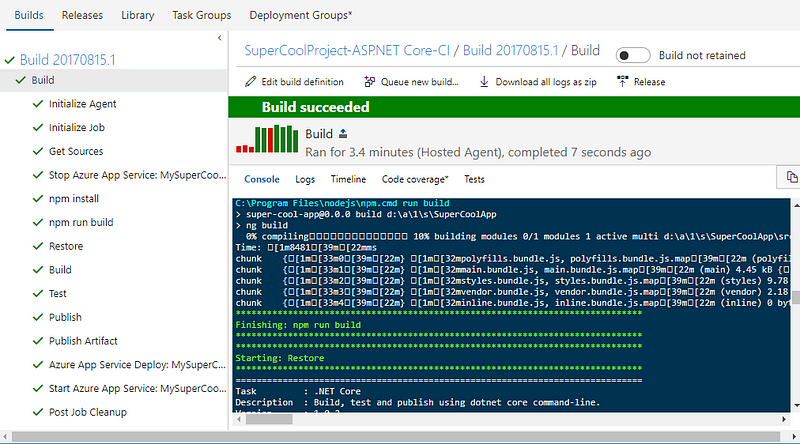
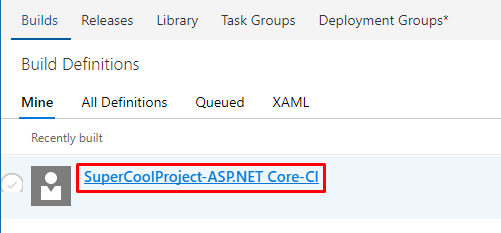
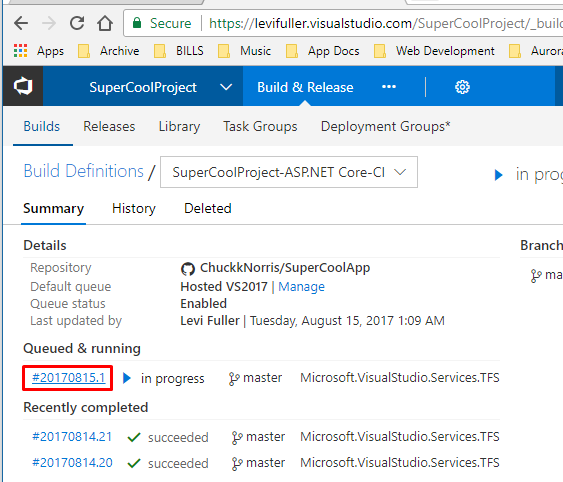
Observe the build
Open the build definition you created
Select the queued build which was triggered by your push
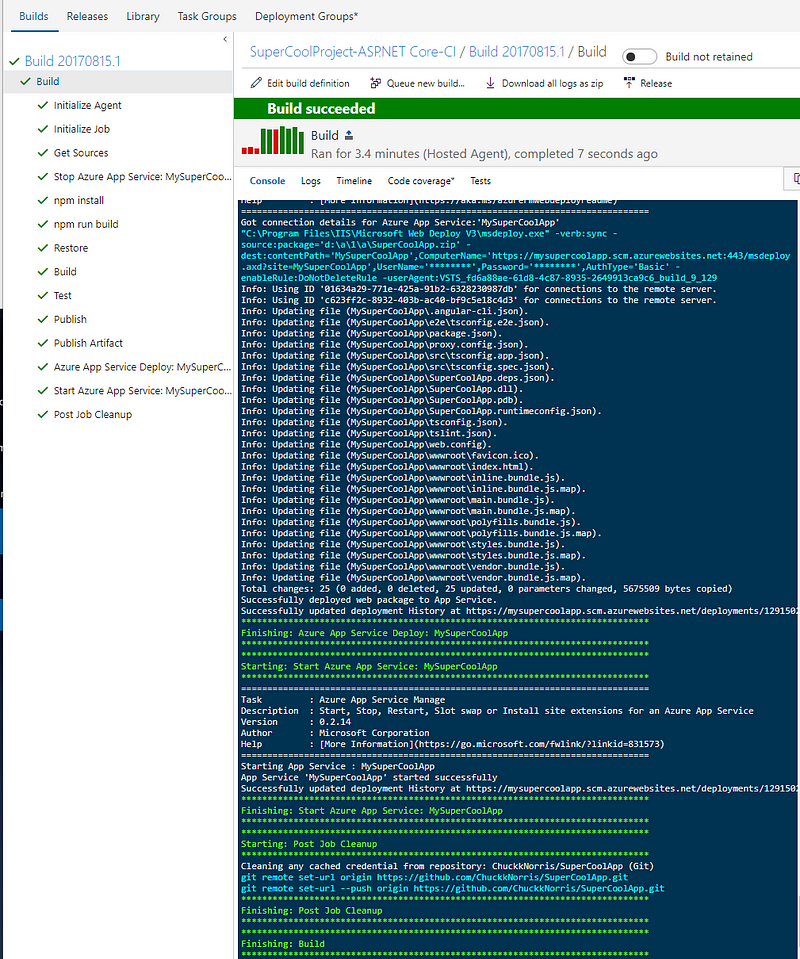
You can view all console output as the build progresses
How to build an Angular Application with ASP.NET Core in Visual Studio 2017, visualized
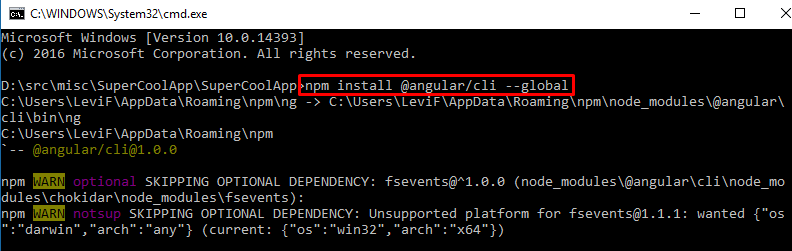
With an arguably gratuitous number of visuals and code, we’ll learn how to build a ready-to-deploy web application built on ASP.NET Core and Angular using the Angular-CLI.
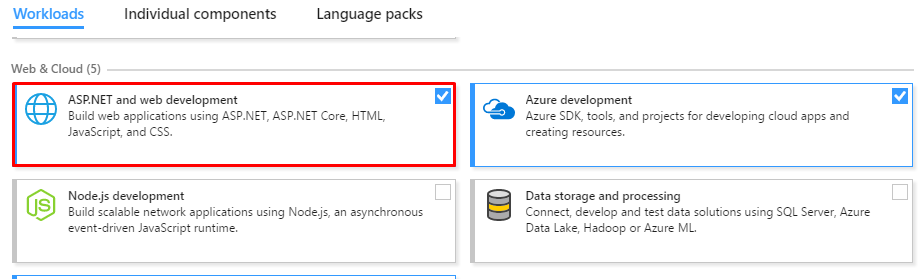
Download Visual Studio 2017 Community — a free, open source IDE — then install it
Make sure to install the ASP.NET and web development workload
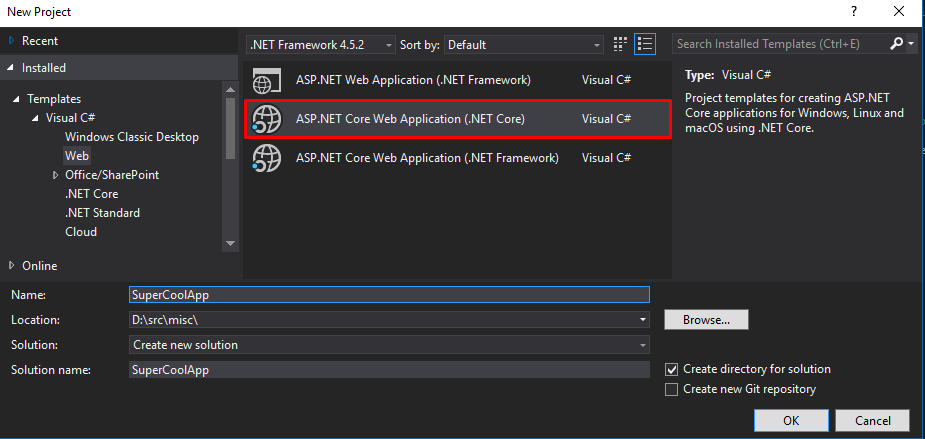
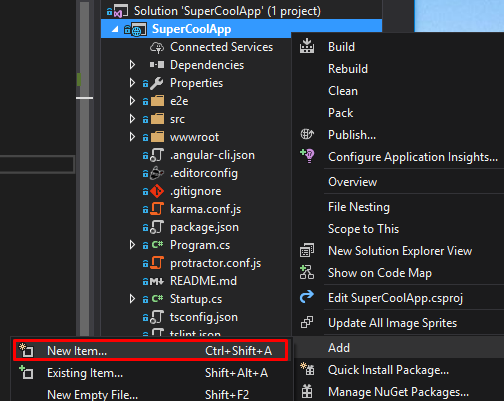
2. Create a new project
Open Visual Studio 2017 and let the fun begin!
File -> New -> Project (Ctrl+Shift+N)
Create an ASP.NET Core Web application
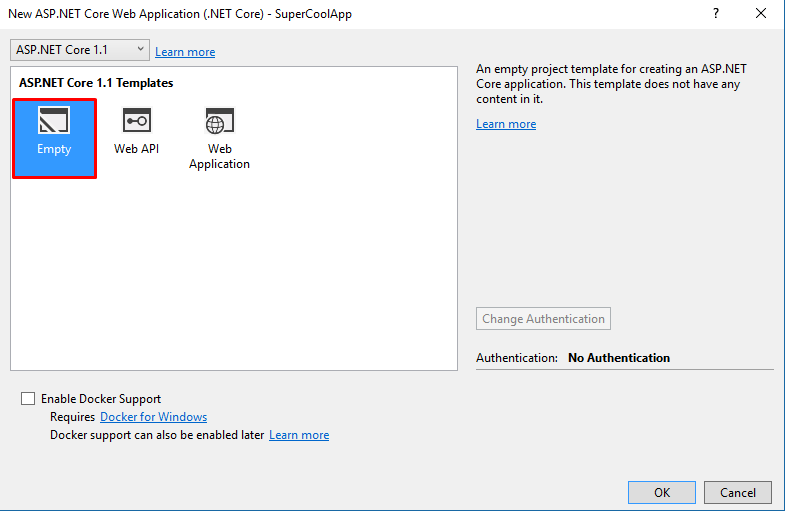
Use the empty template
Configure ASP.NET Core
Next, we’ll install the dependencies, ensure we don’t get TypeScript compile errors, and configure our server.
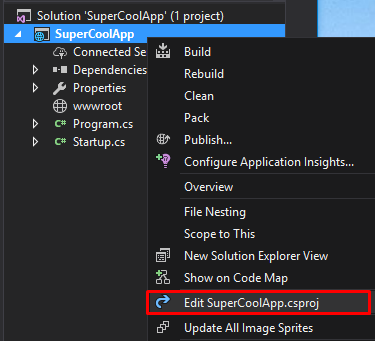
1. Open your .csproj file
2. Modify the .csproj file
Modified .csproj file
Add the following packages:
In our case, the MVC package enables us to add Controllers to build an API and the StaticFiles package enables us to configure our server to serve static files from a specific directory, /wwwroot by default.
Since we will eventually have TypeScript files in our project, we should also disable any TypeScript compilation errors.
true
After saving the file, your dependencies should download automatically. If you’re using MacOS/Linux, run dotnet restore to install the dependencies.
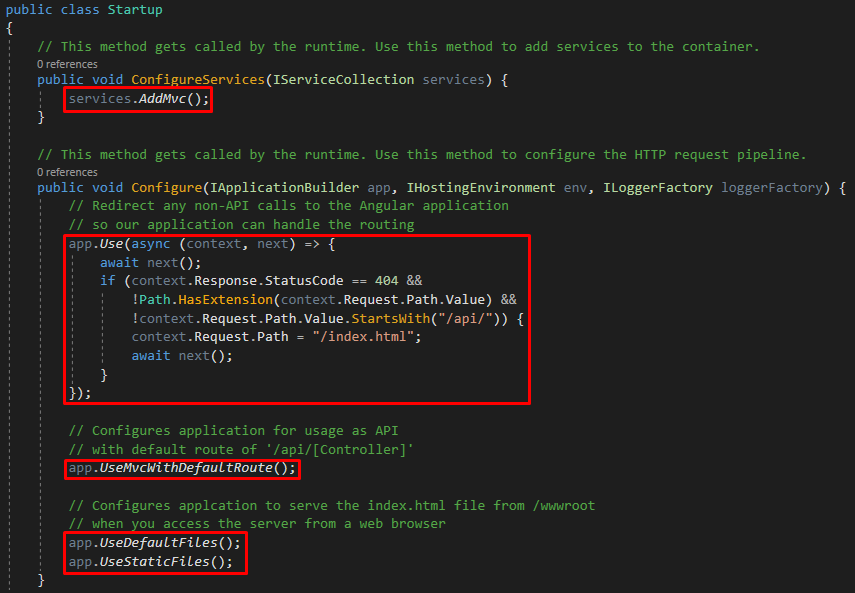
3. Open the Startup.cs file
In the ConfigureServices(...) method, add:
services.AddMvc();
Replace everything in the Configure(…) method with the following:
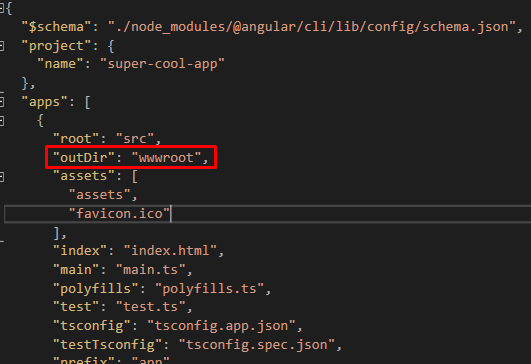
When the Angular-CLI to builds the application, it will now output the assets to the /wwwroot directory — the same directory we configured ASP.NET Core to serve static files from.
7. Call the our server’s API from the Angular app
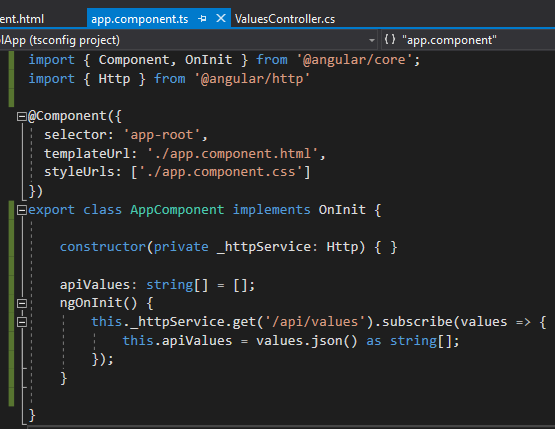
Open the src/app/app.component.ts file and update it to:
import { Component, OnInit } from '@angular/core';
import { Http } from '@angular/http'
When Angular is running on the server, it will make a GET request to the ValuesController we created and return a string array.
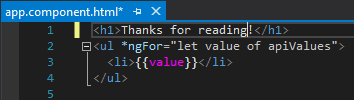
app.component.html
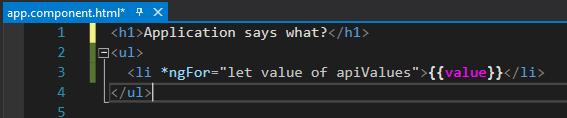
Next, open the src/app/app.component.htmlfile and update it to:
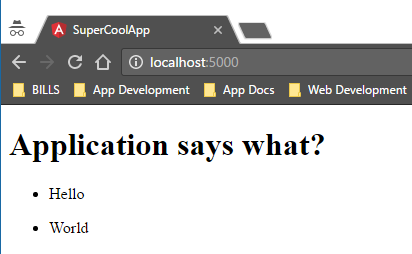
Application says what?
{{value}}
The *ngFor loop will iterate over each value of the apiValues array and output each one into a list item.
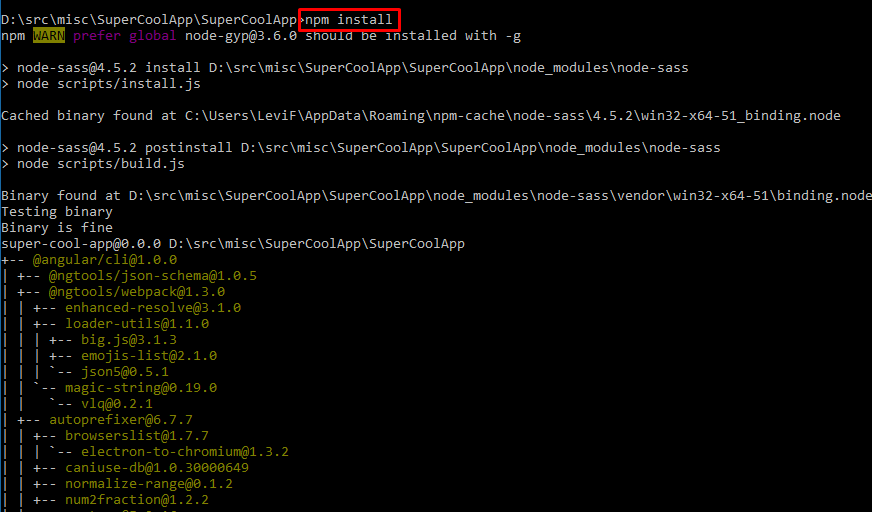
8. Install the Angular application’s dependencies
npm install
Build and Run the Web Application
Finally we can build and run our application
1. Build the Angular application
ng build
2. Run the application
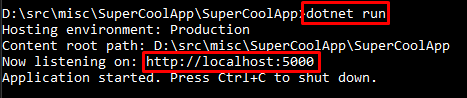
dotnet run
Our application is now running at http://localhost:5000
3. Open a browser and check it out!
Developer-Friendly Enhancements
Next, let’s simplify the development process by enabling both the Angular application and the ASP.NET Core application to rebuild whenever you make a change to its respective code.
1. Proxy your API calls to the ASP.NET Core Server
During development, we should use the ng serve command which watches for changes to your Angular code, transpiles the TypeScript code, and re-serves it to localhost:4200, by default.
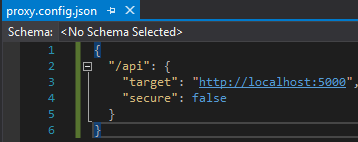
Since your Angular application is being served on a different port than the API, it will send requests to localhost:4200/api instead of our API which is running on localhost:5000, by default.
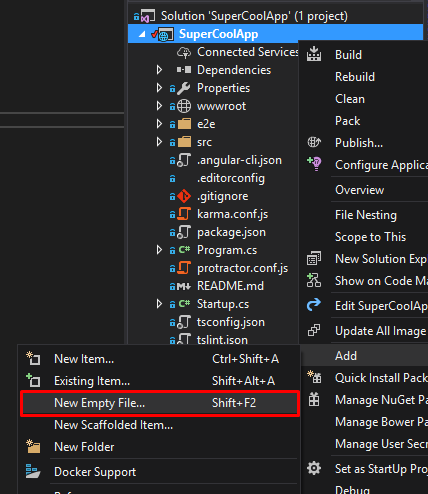
To achieve this, we need to create a proxy.config.json file.
2. Enable automatic re-compilation for ASP.NET Core
Wouldn’t it be great if you were able to make any change to your server-side code and have your still-running Angular application utilize the latest changes to the API? I think so — and that’s exactly what we’re going to do.
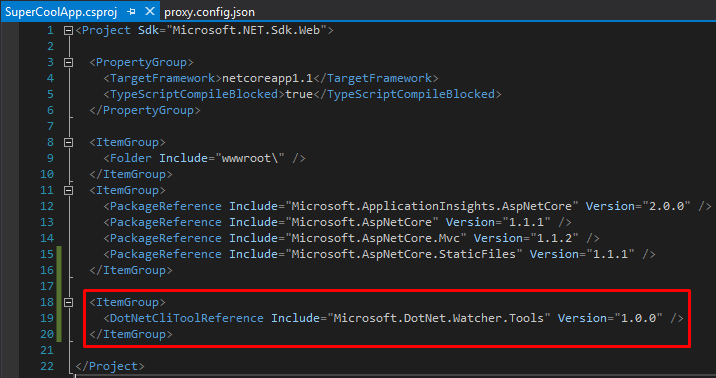
Edit the .csproj file and add add the following:
Install Microsoft.DotNet.Watcher.Tools Version 1.0.0
Again, if you’re VS 2017, it will auto-restore the dependencies once the file is saved, otherwise run dotnet restore
3. Run both applications in watch mode
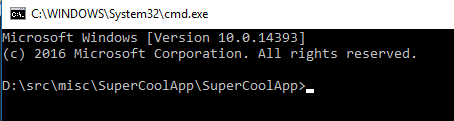
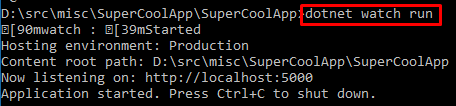
Open a terminal in the project directory and start the ASP.NET Core server
dotnet watch run
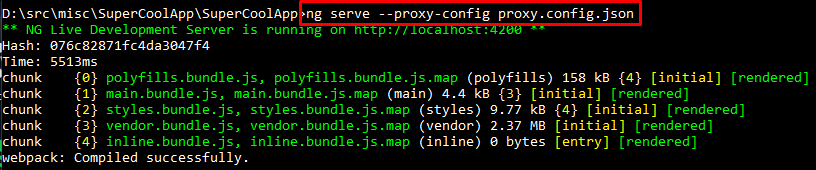
Open another terminal and start the Angular application
ng serve --proxy-config proxy.config.json
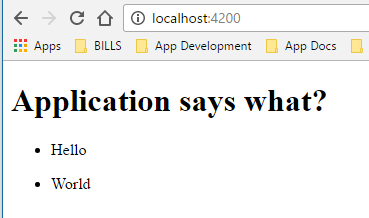
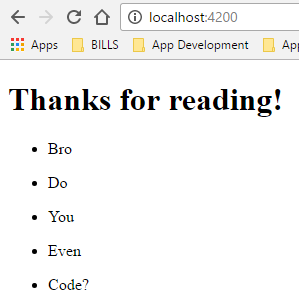
Open a browser window and navigate to localhost:4200
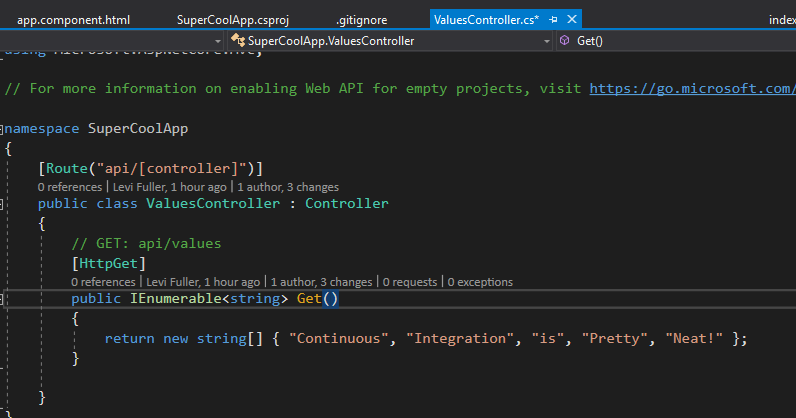
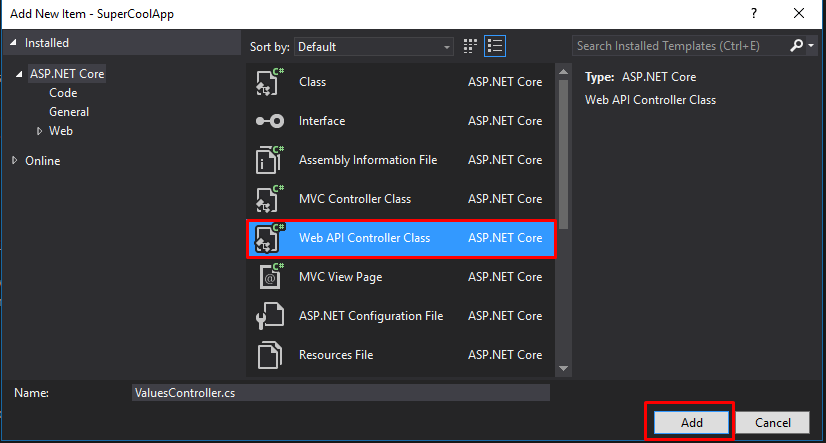
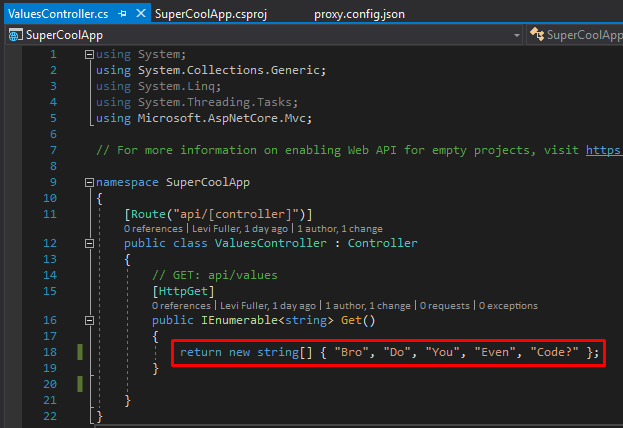
Open the ValuesController.cs file and change the values being returned:
Open the src/app/app.component.html file and change the header:
Now save the file and check your still-running application magically update!
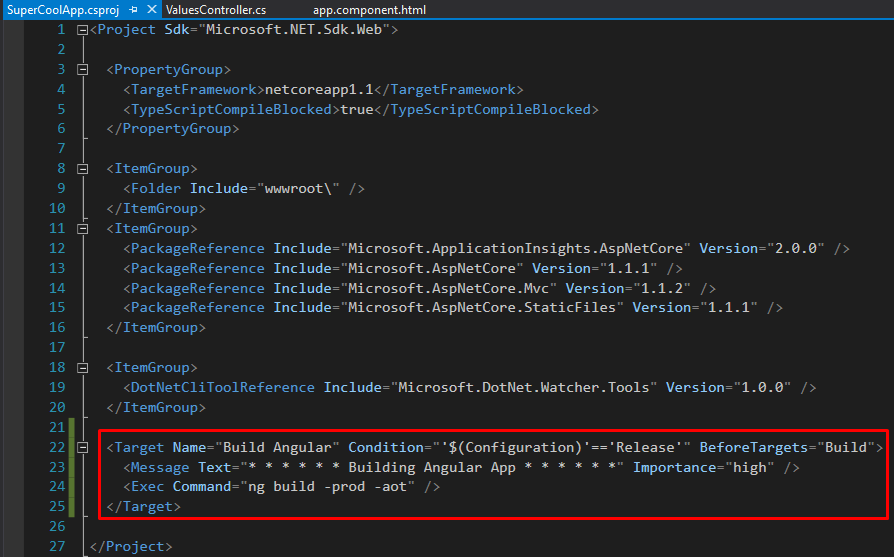
Wouldn’t it be convenient for Visual Studio to automatically build the Angular app for the production environment whenever you click the publish button? I think so.
Open your .csproj and add the following:
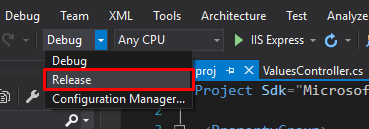
Change the configuration to Release:
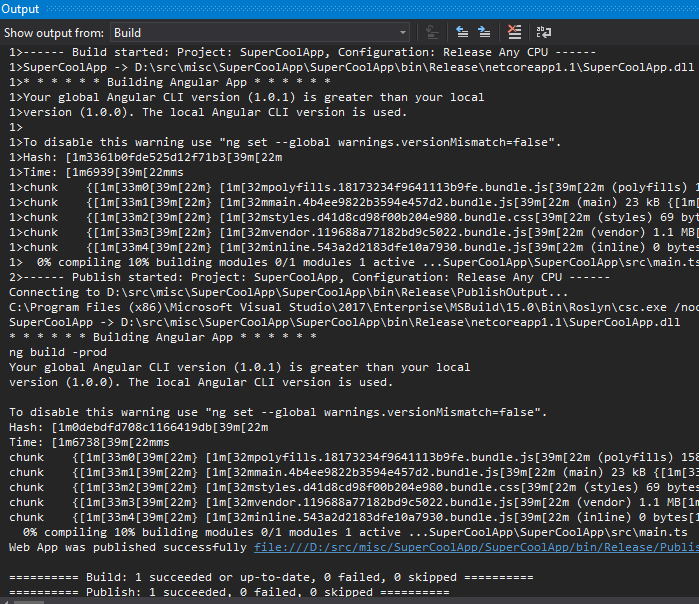
Now publish the app:
If you notice that ng build seems to have executed twice then you’re not alone
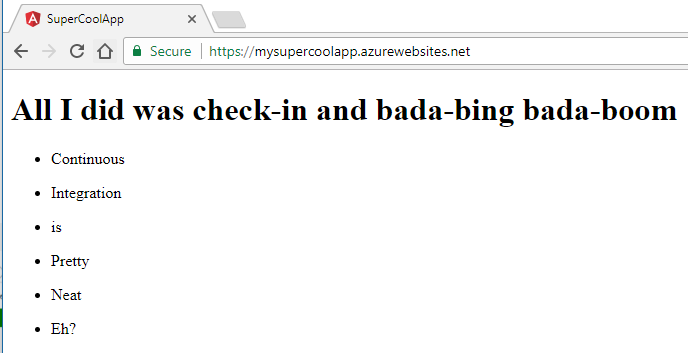
If your .NET Core app is configured to deploy to Azure then the latest code is now live on the interwebs for all the world to see. How neat is that?