Copyright from: www.talkingdotnet.com
Next, open
Next, open
Next, delete
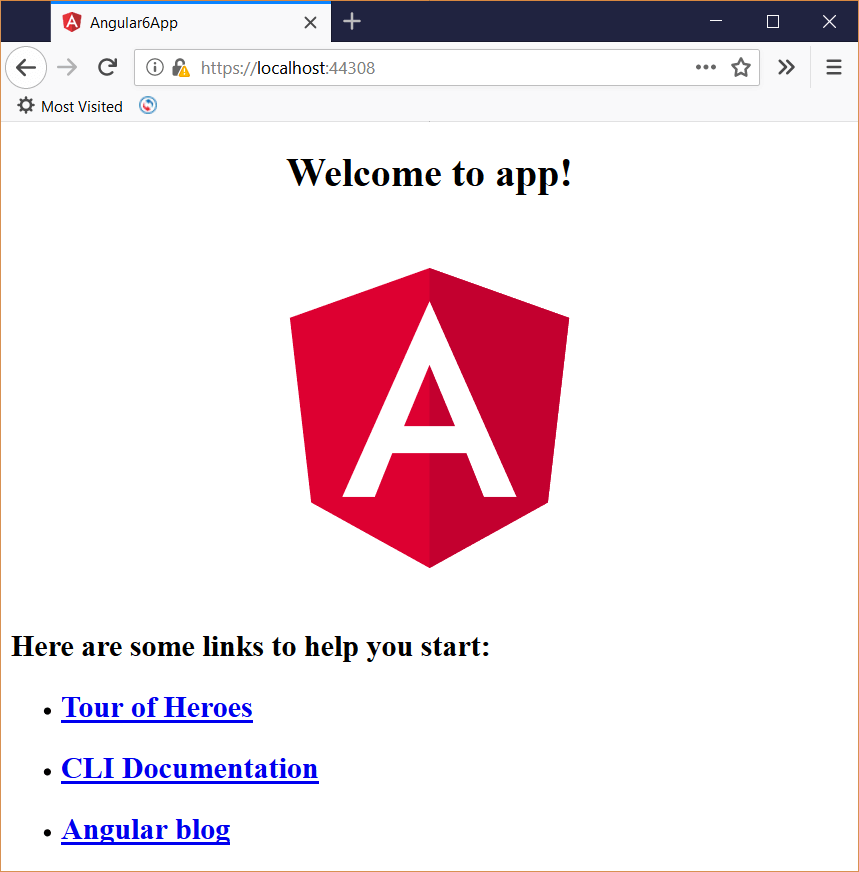
Finally, build the application in Visual Studio and run the app. You should see following in the browser.
At the time of writing this post, default ASP.NET Core SPA templates allow you to create Angular 5 based app with Visual Studio without installing any third-party extensions or templates. Angular 6 is out now and you can also upgrade the Angular 5 app to Angular 6. What if you want to create Angular 6 app with VS 2017? This post talks about how to create an Angular 6 App with Visual Studio 2017 and how to extend it with a simple example.
How to create an Angular 6 app with Visual Studio 2017
In this post, we’ll use an ASP.NET Core 2.1 based API project and inside the same project, will create an angular 6 app. Therefore, before we begin, please do the following installation (ignore if already done).
- .NET Core 2.1 RC1 SDK — includes the runtime
- Install Visual Studio 2017 Update 7 or Visual Studio for Mac 7.5. You can also use latest version of Visual Studio 2017 Preview. Visual Studio and Visual Studio “Preview” can be installed side-by-side on the same device. It will have no impact on your current stable VS installation.
- Node.js and npm latest version
- Angular CLI
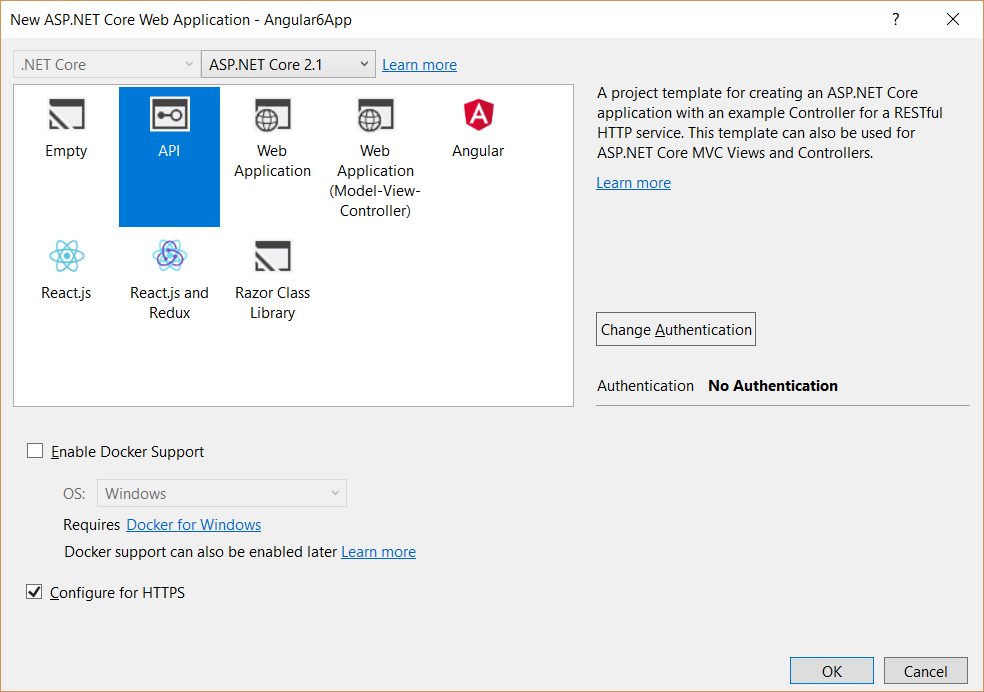
Open Visual Studio 2017, hit Ctrl+Shift+N and select the ASP.NET Core Web Application (.NET Core) project type from the templates. When you click Ok, you will get the following prompt. Select ASP.NET Core 2.1 and choose the API template.

The Visual Studio will create an ASP.NET Core 2.1 based Web API project with a controller named
ValuesController. Just run the app to make sure it is running successfully.
Now, let’s add Angular 6 app to this project through Angular CLI. To do that, first open developer command prompt for Visual Studio and navigate to the project folder (if not there). First, install/update the Angular CLI using the following command.
1
| npm install -g @angular/cli |
Next, we need to create angular 6 based app. To do that, navigate to the ASP.NET Core project root folder (where the project’s solution file is present) and run the following command. Here, the angular app name must be same as your project name.
1
| ng new Angular6App |
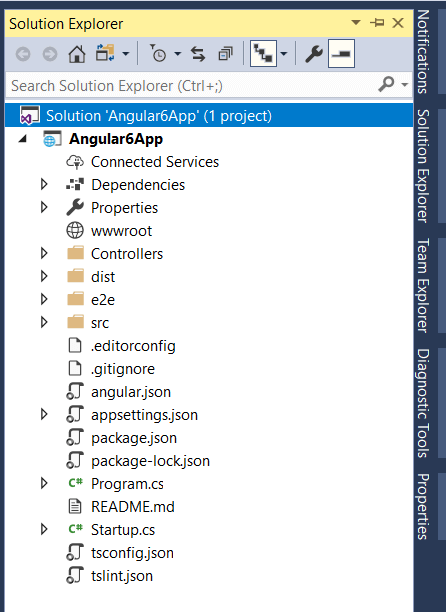
This will take some time to create angular 6 based app. Once created, the project structure will look like the following.

To run this angular application with Visual Studio 2017, we need to make a couple of changes.
- First, edit the .csproj file and add the following 2 entries in the PropertyGroup section.12
true
ng build --aot
These entries will ensure that TypeScript files are compiled using Angular CLI instead of Visual Studio.
angular.json file and set the outputPath key value to wwwroot. This is required as the wwwroot folder in ASP.NET Core application, is the place to serve static files. This change tells angular cli to copy the generated HTML, CSS and JS files to wwwrootfolder.Startup.cs file and add these 2 middlewares in the configure method.
1
2
| app.UseDefaultFiles();app.UseStaticFiles(); |
This tells ASP.NET Core to serve the static content from the wwwroot folder.
"launchUrl": "api/values" from the Properties/launchSettings.json file.
That’s it. The angular 6 based app running successfully in the browser.
If you want to learn all of Angular, I want to personally recommend ng-book as the single-best resource out there. You can get a copy here.
Conclusion
With Angular 5, the ASP.NET Core SPA templates support angular cli based application, compare to Angular 4 based application. This is the right decision as this allows developers to include Angular based apps created using CLI inside ASP.NET Core projects. In this post, we saw how easily we can integrate angular cli based application in ASP.NET Core app.
Thank you for reading. Keep visiting this blog and share this in your network. Please put your thoughts and feedback in the comments section.
PS: If you found this content valuable and want to return the favour, then
