Let’s learn how to deploy the app we just built as an Azure Web App using Continuous Integration. The end goal is to be able to check in a change which will automatically trigger a build and publish the latest code to an Azure Web App.
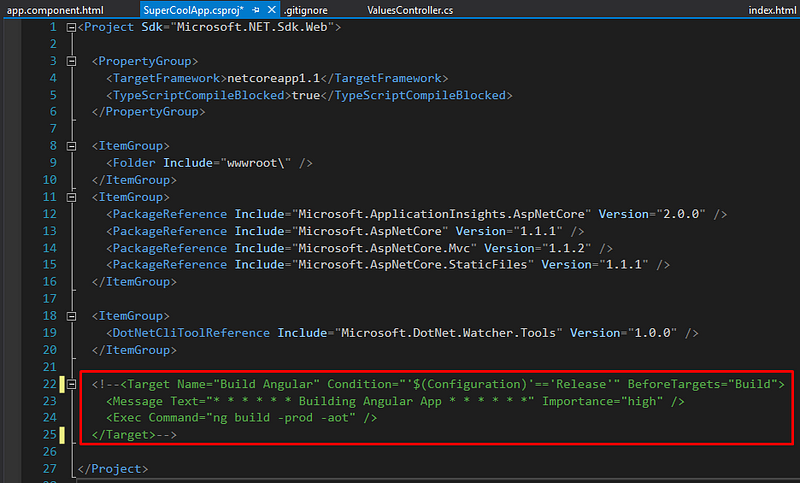
Remove the Angular build command from your *.csproj The angular app will eventually be compiled by a VSTS build agent in the cloud and it’ll handle compiling the Angular code
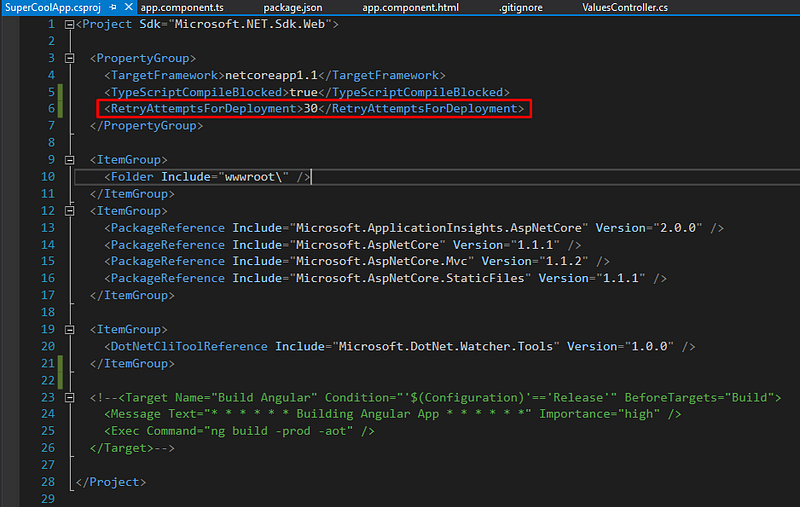
2. Set deployment retry attempts to 30 in your *.csproj
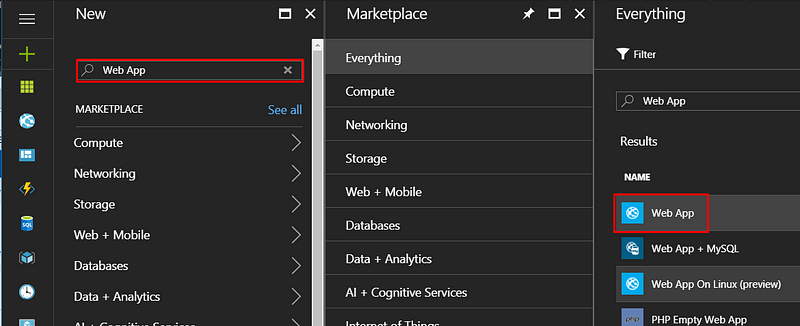
Set your name, create a resource group and create an appropriate App Service plan — The F1 (Free) pricing tier will work just fine, but don’t expect blazing fast load times — then create your web app.
Create a Visual Studio Team Services Project
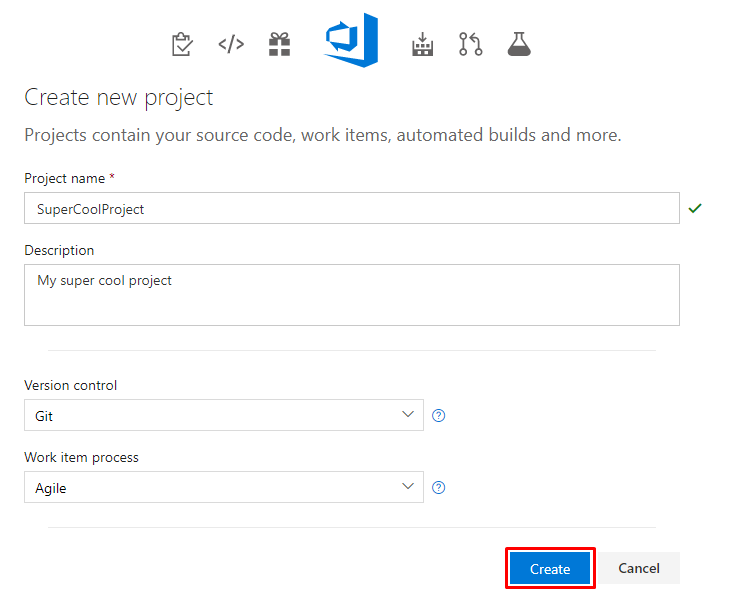
Navigate to the VSTS portal you setup when creating your VSTS account and create a new Project
Note: Version control and Work item process are only applicable if using VSTS to store your code and track your work items, but we’ll be using GitHub as our source repository instead so it doesn’t matter
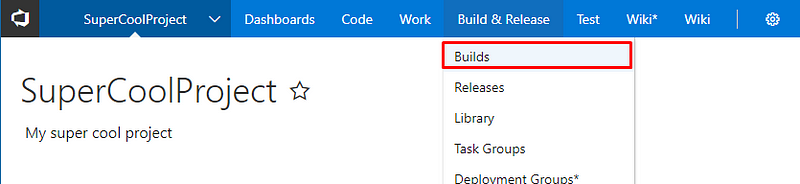
Create a Build Definition to Deploy Your App
Navigate to your Builds section
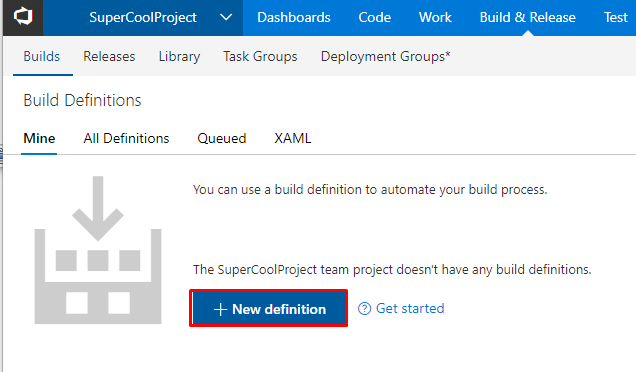
Create a new build definition
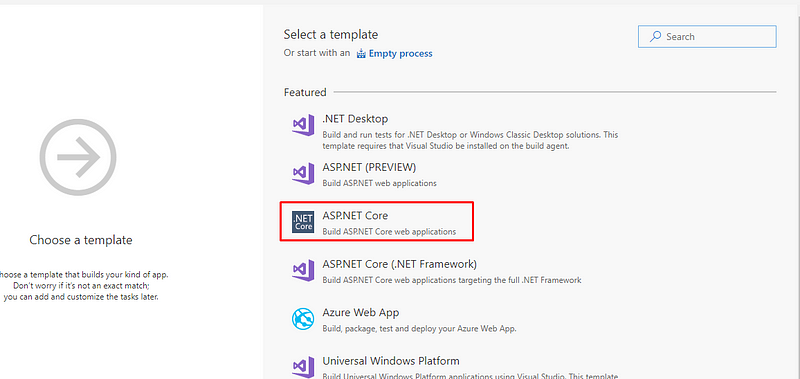
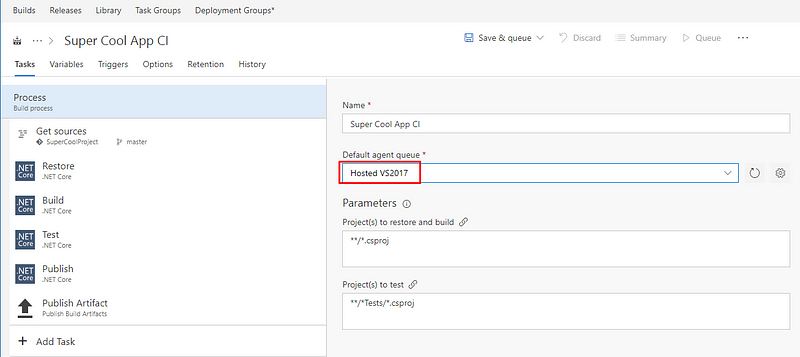
Select the ASP.NET Core template
Set the Default agent queue to Hosted VS2017
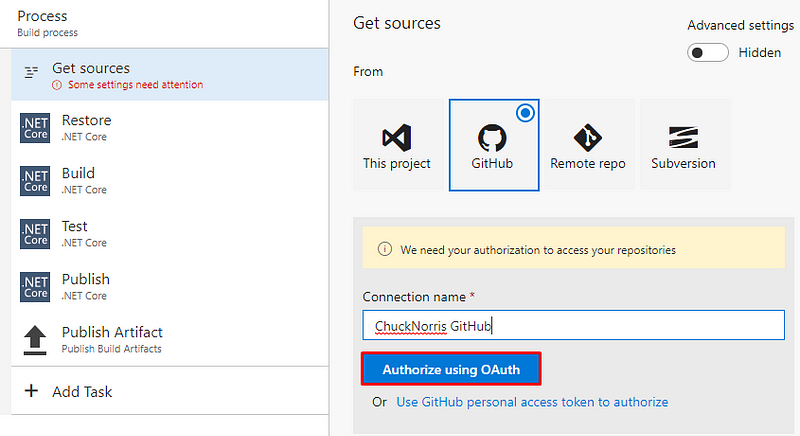
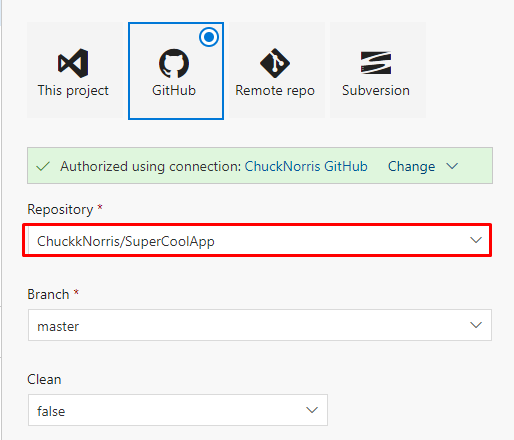
Set the package source to your GitHub repository
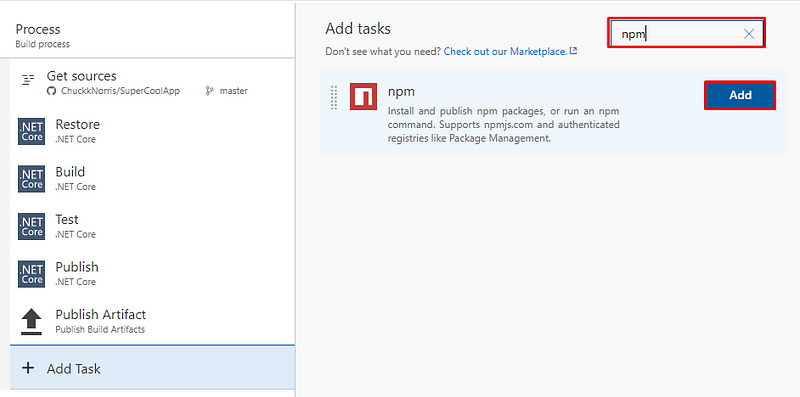
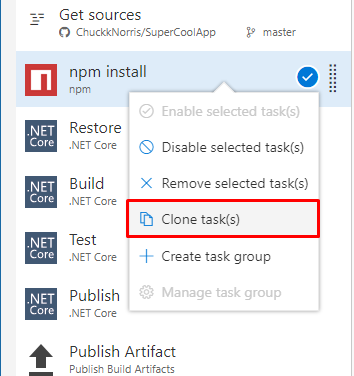
Add an npm task, move it to before the Restore task, and clone it
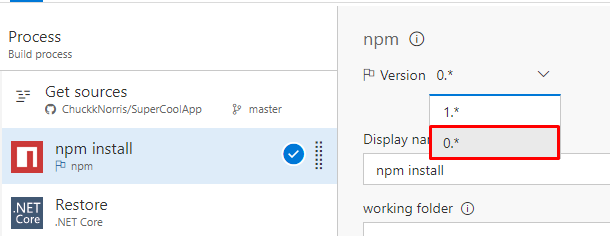
Set the npm task version to 0.*
Set the npm task version to 0.*
Set the working folder to where your project’s package.json is located
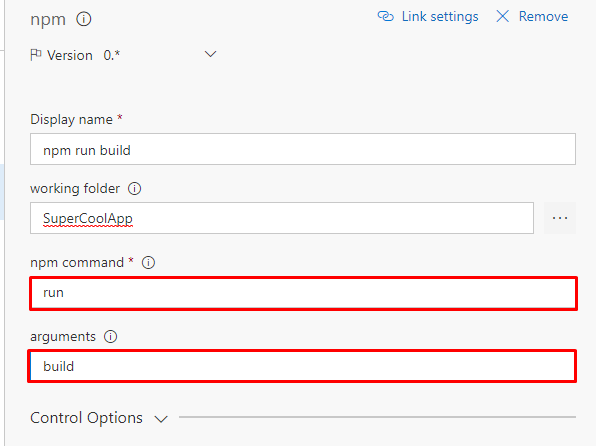
Create the ng build task
Clone the task and update the command as follows
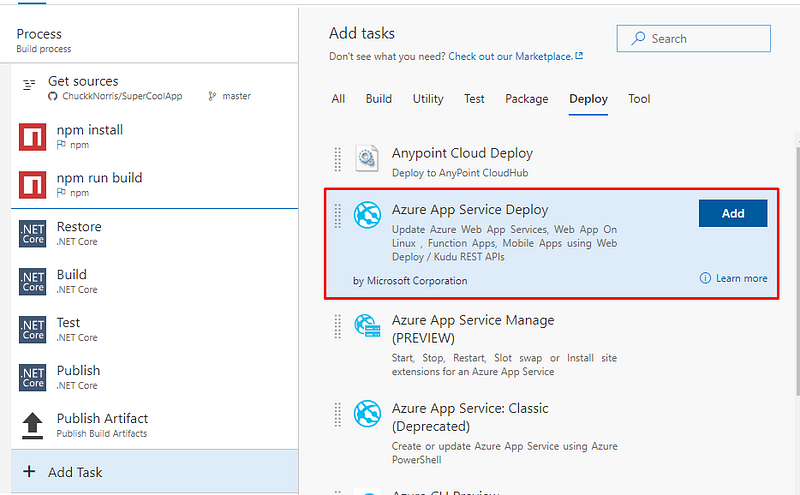
Create the Azure App Service Deploy Task
This task will take your compiled .NET Core application and publish it to your Azure Web App service.
Connect it to your Azure subscription by following the instructions for the Azure subscription field and select your app
Set your package location to the output of the .NET Core: Publish task:
$(build.artifactstagingdirectory)/**/*.zip
Stop the App Service Before the Build Process
In order to get around a bug where the app service isn’t completely stopped when it reaches the deploy task, we’re going to stop the Web App before the build process starts to ensure it’s completely shutdown.
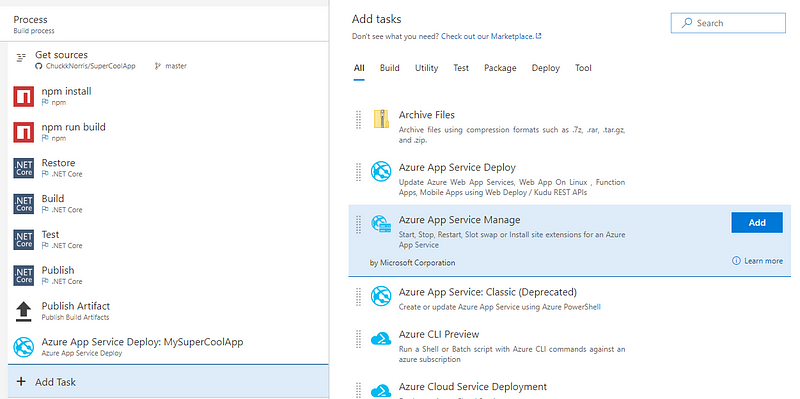
Add the Azure App Service Manage task to the build process
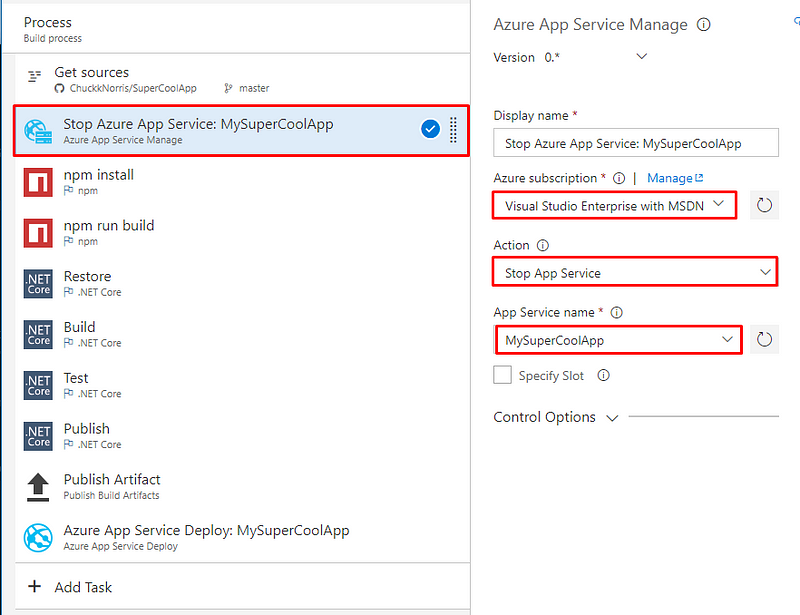
Move the App Service Mange task to before the npm install task and change the Action to Stop App Service
Start the App Service after deployment
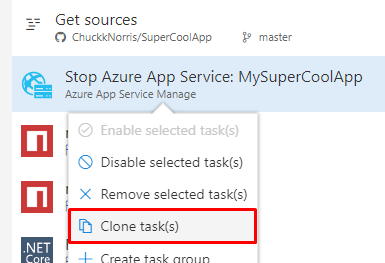
Clone the Stop App Service task
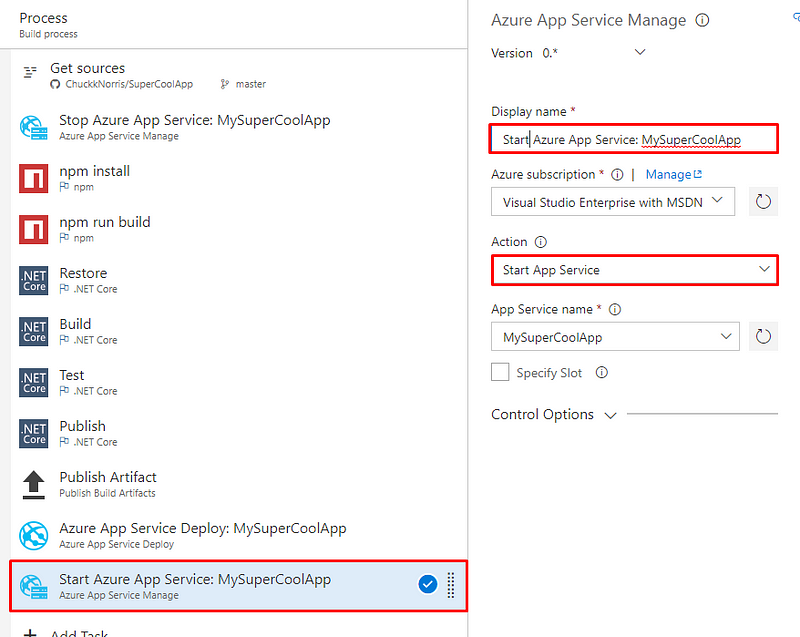
Move it to after the Deploy task and change its name and action to Start App Service
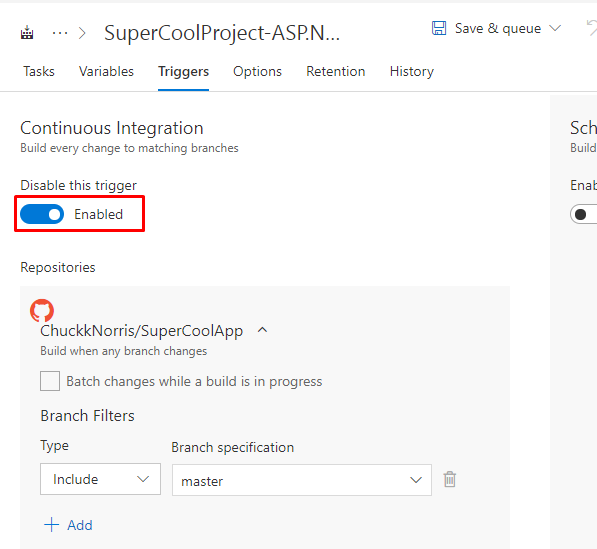
Enable Continuous Integration
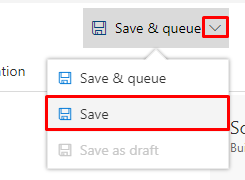
Save the build definition
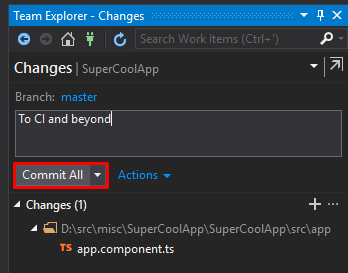
Change some code, commit it, and push it to your repository
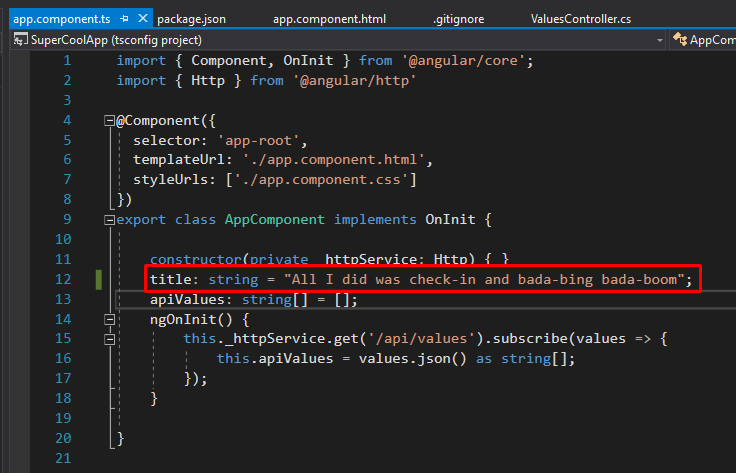
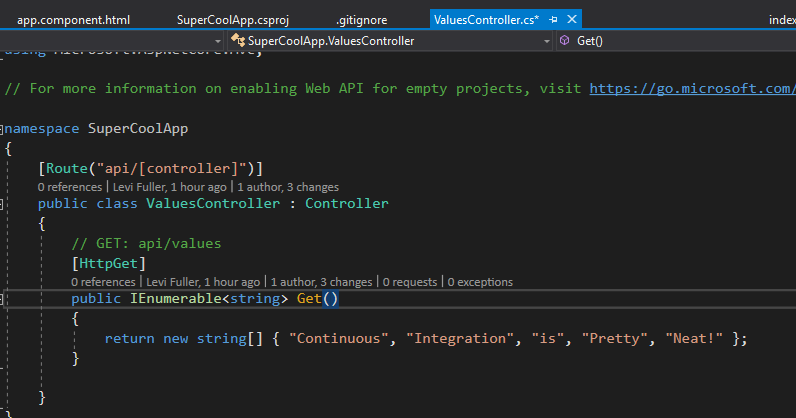
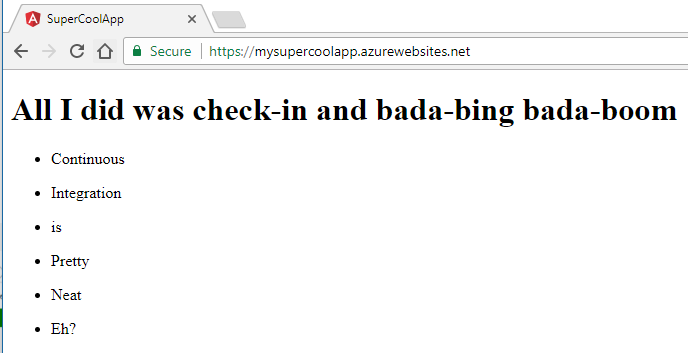
Try adding a variable to your component
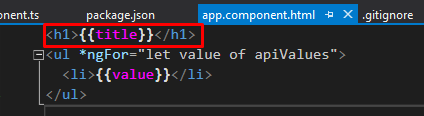
Show it in the title
git commit -m "To CI and beyond"
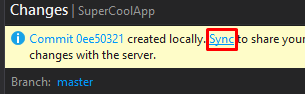
git push
The Sync operation performs a git pull and git push
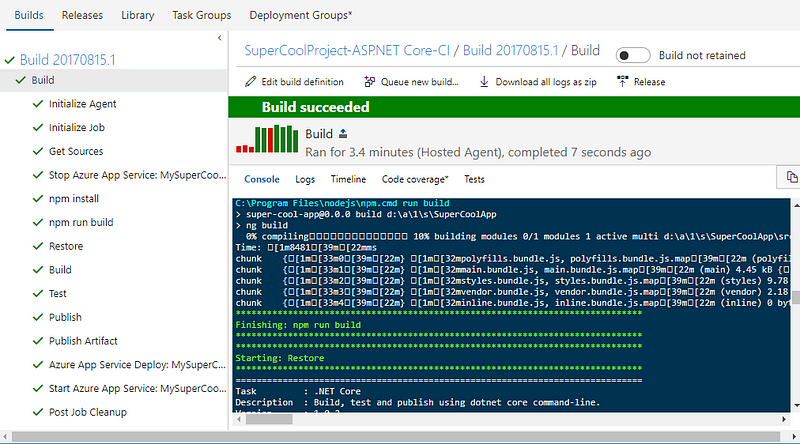
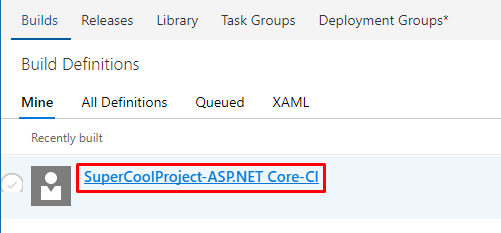
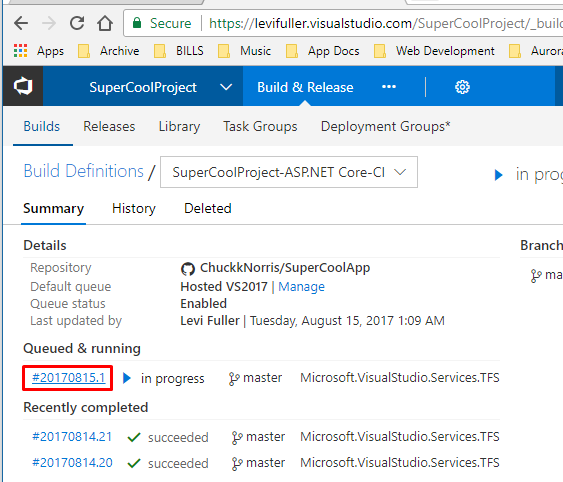
Observe the build
Open the build definition you created
Select the queued build which was triggered by your push
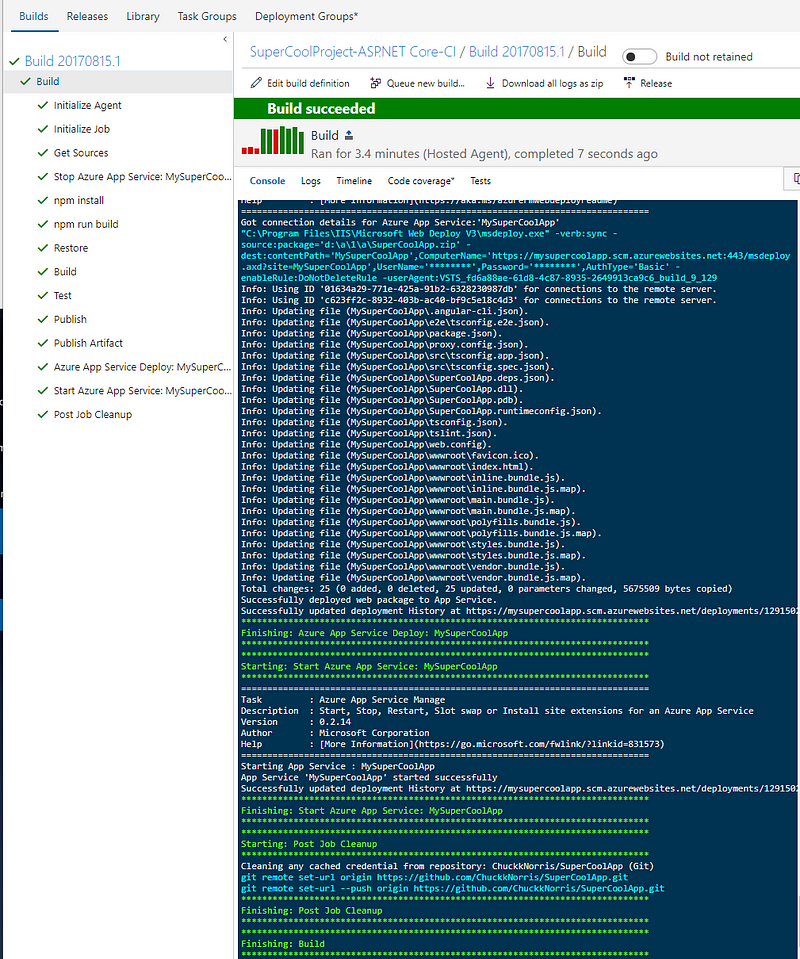
You can view all console output as the build progresses


No comments:
Post a Comment